Before I talk about the how-to, I'd like to give y'all a little background on how Breyers are made.
How a Blob of Plastic Becomes a Pony
Breyers are made out a substance called cellulose acetate:

Science!
This is a more durable material than artist resins, which are made out of...resin. However, resin reproduces much more detail than plastic. You could cast a finger print in resin and ID who it came from.* So when a resin sculpture is reproduced in plastic, much of the detail is lost. If you get a chance, compare the resin version to the plastic version of the PS Weanling (Parrs Dream Doll), the ISH (RRQH), Half-Passing WB (Spago), etc. While these sculptures are mostly the same, the finer details are often lost.
*Probably making that up.
In addition, more detail is lost in the prepping process for plastic models. Prepping a resin is done mostly by hand and takes hours of painstaking work. Plastic models are prepped with industrial equipment in a few minutes. This means more detail lost, especially on the face.
So as customizers of plastic models, we are already swimming upstream. If we want more detailed models, we have to add it back in.
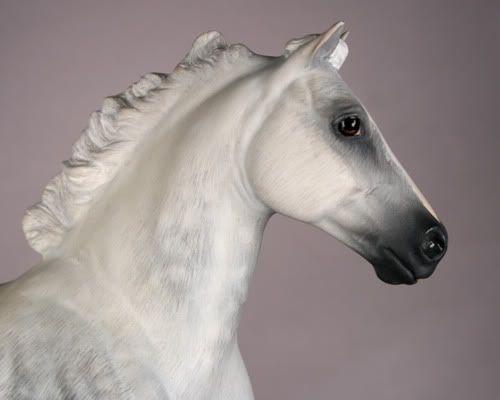
Flat-Faced Pony Syndrome
Because of all the challenges above, most Breyers will end up with flat faces. That means no detail down the front of the face and between the nostrils. I always thought they looked like they'd run face first into a sliding glass door.


When I look at a potential
The following technique is designed for those cases where I need to punch up the detail a bit without going overboard.
My Magic Trick
My list of ingredients is short for this one: 1 heat gun, 1 box cutter, and 1 plastic pony.


I don't need to have a particular blade for my box cutter, or really any blade at all. I retract the blade if I've already got one in there and place it to the side (but within easy reach). I pick up my heat gun and my pony:

Please ignore that this Flash has no body.
I aim my heat gun at the plastic in between the nostrils. I try to move it around like a hair dryer to avoid burning the plastic. For this technique, I want the plastic very soft, but not to the point that it boils, bubbles, or burns. I highly recommend testing your heat gun on disposable bodies for a while until you get the feel for it. It took me somewhere between 30 seconds and a minute.
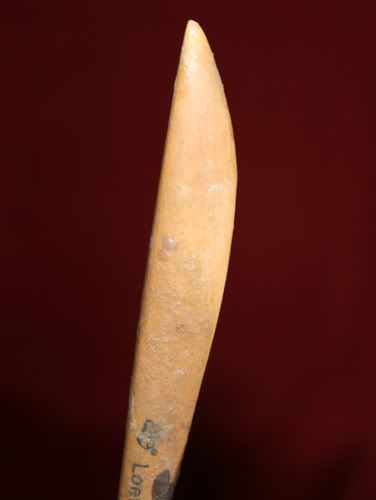
After 20 to 30 seconds, I test the plastic by touching it gently with my sculpting tool.

My sculpting tool likes making cameos
When the plastic gives to pressure, but doesn’t need to be forced, I consider it ready to go.
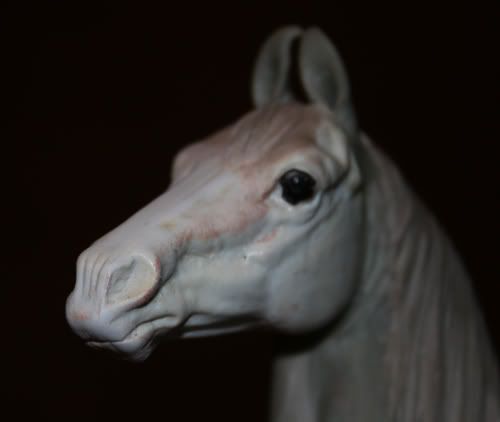
I switch out my tool for my box cutter. I hold the box cutter upside down, with the front tip against the top of the lip:

Next, I roll the box cutter toward the ears, using the open shape of the front to form the wrinkles.

That’s it.
.
.
.
I’m done.
.
.
.
.
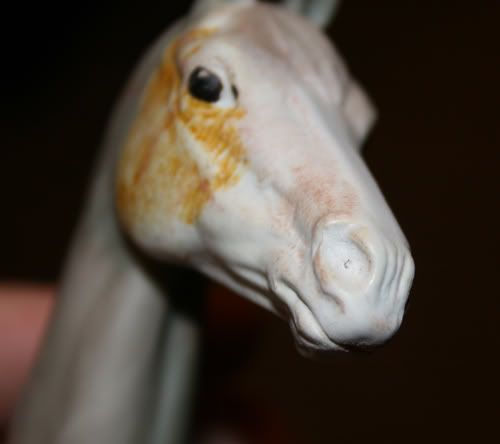
It really is that simple.
.
.
.
I can dip my model’s nose in ice water if I want the plastic to set right away, but by the point I walk to the kitchen, find enough ice in the fridge, curse to myself for neglecting to make ice, fill a cup with water and walk back to the studio, the plastic will already have cooled. The nose is ready to prime and paint at this point.
I only use the box cutter on traditional scale models, but I can use a similar technique on classics and smaller. Just as before, I heat the nose until soft. However, this time I use my sculpting tool to form the wrinkles as well.
I press in the shape of the wrinkles using the wedge part of the tool.
If I screw up the wrinkles at any point, reheating the plastic right away will encourage the nose to return to its original shape. Then I just start over shaping.
I only use the box cutter on traditional scale models, but I can use a similar technique on classics and smaller. Just as before, I heat the nose until soft. However, this time I use my sculpting tool to form the wrinkles as well.
!!!!!!one!!!


If I screw up the wrinkles at any point, reheating the plastic right away will encourage the nose to return to its original shape. Then I just start over shaping.


6 comments:
I recently discovered your blog and just want to say it is a joy to read (and informative!). Love the sense of humor!
Well, now I feel incredibly silly for having spent so much time trying to sculpt a new nose on! <XD Coulda just been fussing with the plastic itself all the time. Sigh.
That was sooo simple. And elegant. I always enjoy your blog, and you have the best model horse tutorials I've seen anywhere!
@Ponyscribbles -
I fully resculpt a lot of muzzles, too, and that will be the subject of a future tutorial. I feel I can get more detail when sculpting with Apoxie as opposed to heating up and pushing plastic around. However, not every custom needs this amount of detail. When I make customs, I try to keep the level of detail even throughout the model.
Brilliant! And thanks for adding about how to do it with smaller scale models. I'd love to see a picture of the results on a stablemate.
Also, the caption on the plastic molecule made my morning.
If someone tries this on a stablemate before I do, please send me a copy and I will post it. :)
Post a Comment