Required Reading
“Super Glue and Baking Soda: A Love Story”
“Best Laid Plans”
“Brands I Prefer: Everything Else”
Some of you may already be familiar with building a frame for an original sculpture. I believe JAH has covered the topic a couple times, but it’s also a straight forward process:
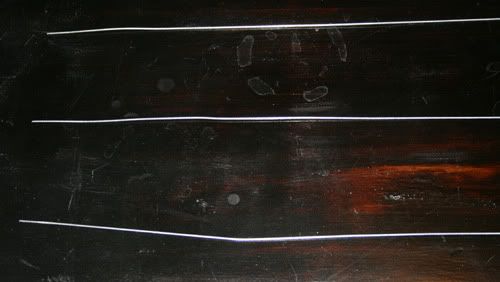
Twist together three pieces of sculpture wire.
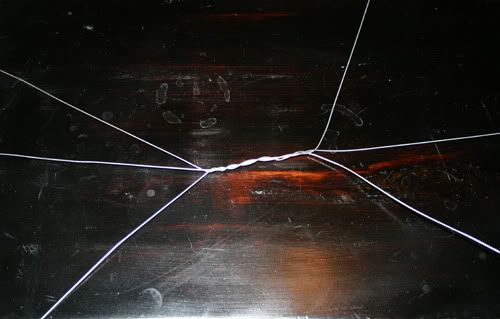
From the strands, form four legs, a neck, a head, and a tail.

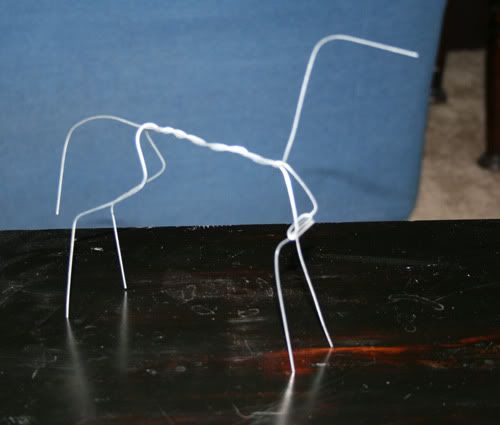
This took roughly 4 seconds. The proportions are probably off.
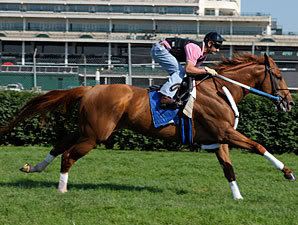
Measure the proportions or overlay your armature on a reference photo (or a couple to be safe, but never use a photo that is of a horse at an angle). Remember to mimic the shape of a horse’s skeleton.
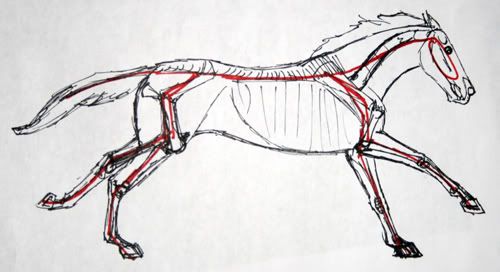
The armature is represented here in red.
Tweak the wire to fit, cut the excess and ta da! Instant armature.
Alas, building an armature for a custom model is not nearly so cut and dry.
On a custom, especially a drastic, you have two major problems to contend with. First, the parts you save from the original body won’t imitate a skeleton yet you’ll have to figure out how to attach a wire skeleton to them.
Second, securing wire to plastic is just hard.
Unless you are working with a solid cast resin or a stablemate, you have a third issue in that the model is hollow and you want to avoid filling the entire body with clay. For one, it’s a waste of clay. Clay is kinda spendy and I’m (as has been previously discussed) extremely cheap. And the finished product will weigh a ton.
I work around these problems using masking tape. Yup, Scotch blue painters tape.
You spent kindergarten learning to color inside the lines. I learned this.
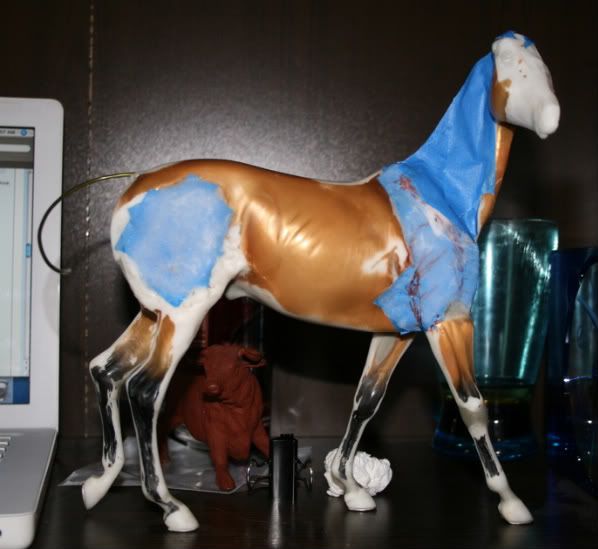
Before and after on one custom? It was a happy accident that I thought to photograph it.
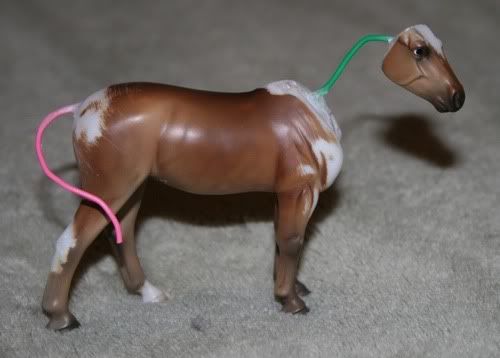
When possible, I try to include at least a little wire secured to the original plastic parts. Like I said, this is hard and my best advice for this step is patience. I attach the wire to the inside of body and secure it in place with several layers of baking soda/super glue.
Baking soda/super glue often is not enough to hold the wire permanently in place. I delicately build a few pieces of masking on and around the wire. Then, on top of the masking tape, I stabilize the whole contraption with a few layers of baking soda/super glue.
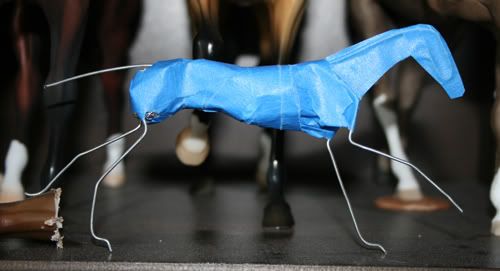
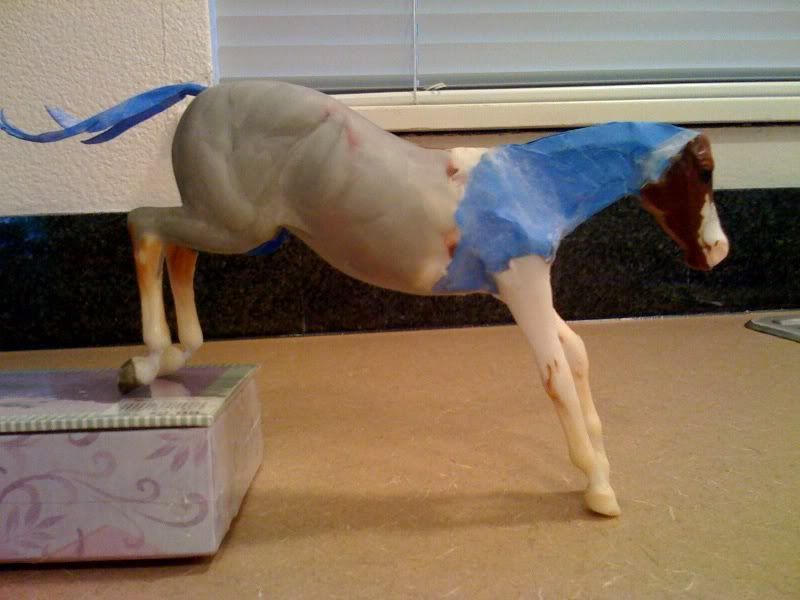
In progress frame (it's not a horse.)
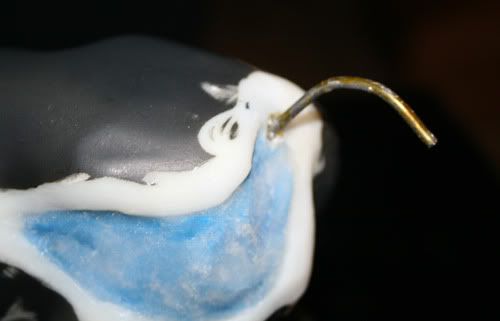
Detail of the base of the neck secured in place.
The tail secured, before building the shape of the tail with tape.
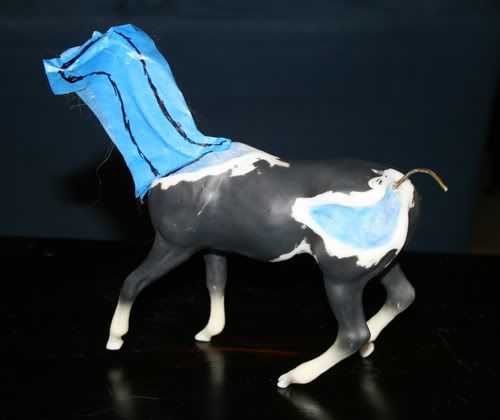
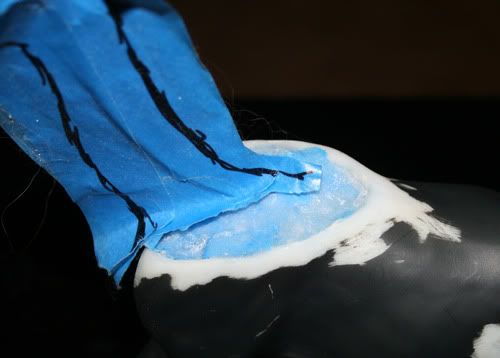
I use multiple layers of masking tape--one layer of tape will not sufficiently hold its shape. Two to four layers are generally ideal. Two to three layers of baking soda/super glue is usually enough to create a sturdy surface to sculpt on without getting too bulky.

This is two layers of tape. It could use one or two more.
Depending on what part of the anatomy I’m replacing, I can either cut the tape into the right shape and then stick it on my model or I can stick on overly large strips of tape and then cut the tape down to size. I prefer the latter technique except when I need to squeeze tape into a small spot where my scissors won't fit.
In two weeks, we’ll apply this technique to manes and tails.


5 comments:
Im really glad you posted this!( and all the other tips too..I love to see how other artist work and love in progress pics!) I l always have a dilemma when I do remakes..I use the tin foil technique but I don't really like it.. way to bulky for one and not stable enough... this is much better! I never thought of using tape and the glue trick.. what do you use to fill the inside of the horse though? or like on the hindquarter area.. how did you get the tape to stay there? didn't you fill something under it into the hollow part? if so can you post how you go about that and get the tape to stay in hollow areas like the hindquarters... on the neck how did you get the wire to stay? is it stuck onto something inside of the horse? if so what? lol... yep asking you to be really specific for us who are really really curious of how you do it.. I really don't like the tin foil technique... I cant get it to stay and it moves around too much unless you fill the whole darn inside with it.. and Im also cheap.. lol not that tin foil cost alot but hey..if there is another way Im all ears or eyes I should say! thanks for the tips..I love that your doing this! I need to do a few tutorials myself.. I was going to do one one remaking heads and sculpting heads..I see so many people make major mistakes when trying to do the equine head.... that it drives me nuts..lol
keep up the good work! and thanks!
Rebecca Turner
Thank you for this extremely helpful post, suddenly the beginnings of sculpting look so much easier.(Until I am at it again, heehee...*g*)
I also learned a lot from the other posts you made recently.
Thank you for sharing this!
-Maren
Rebecca, I've already started writing a new tutorial on fill holes and I will talk about what I did on the Sham in this post. From your suggestion, I'll also add some specifics of how and where I attach wires.
Frames are really a very, very deep topic for me. I improvise a lot of it since every drastic custom will present its own unique challenges. But I have a few basic methods I use for assembly I can cover in a tutorial.
Such a great tip! I've been utilizing your tutorials for pretty much every step of my first custom that is in progress. I have a question though: how do you get the tape inside the holes to stay? I have tried it and fail miserably. Can't block up the holes enough t get the covered in baking soda and glue.
Thank you for writing such wonderful tutorials!
Kaitlin
I just found this page. Thank you for the instructions! I am an artist with a horse-themed project on my mind, and am grateful to see that building a model can be simple-ish.
Post a Comment