The evidence was quickly destroyed, but the learning experience has stayed with me. Lesson #1: I sucked as a handpainter and needed to find a new medium immediately. I cobbled to together my life savings (approximately $21 and change), bought my first airbrush, and never looked back.

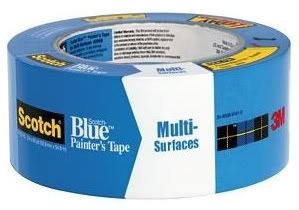
For a long, long time after that I painted white markings the way Breyer does. I painted my models solid white, masked off anything meant to be white with (what else?) painter’s tape, and airbrushed the basecoat over the rest of the model.
I don’t mean to brag*, but I got really good at the tape technique after years of practice. I got to dust off those skills last year when I made these guys (designed to be imitation OFs):
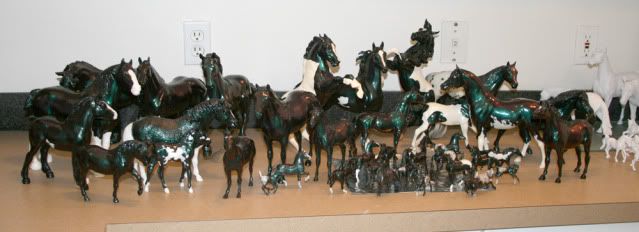
Click to embiggin
But eventually I had to move on. This technique isn’t a standard approach, so my work looked a little alien on the table next to hand-painted pintos. It’s also a limited technique. I couldn’t do intricate patterns with tape and there was always a slight lifted edge on my markings.
So I ripped off the band-aid and started using the following approach:
Find a Reference
My regular readers will get sick of me saying this at some point, but I cannot under-sell the importance of a good photo reference. For Casanova, I am referencing this horse:
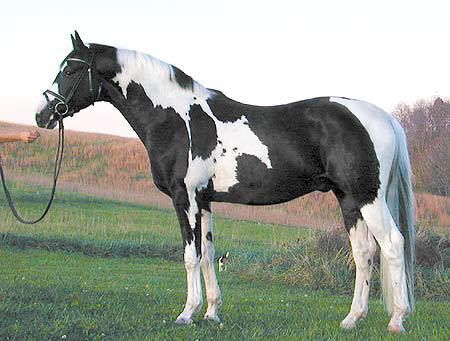
I know, I’m using a warmblood as reference for a Paint. It’s not the first time and certainly won’t be the last. If you don’t have a lot of experience with pinto patterns, I would avoid switching breeds while you are still getting the hang of them as not all breeds can be all types of pintos. If you’d like to learn more about the different types of pinto patterns, I highly recommend Lesli Kathman’s guide.
You can always use multiple horses for reference, but I avoid it when possible. Also, don’t reference another model horse for your patterns. The odds are high (very very high) that you could be copying and unrealistic pattern.
Recommended Supplies
Your cooking is only as good as your ingredients. Start with a high quality paint. Although spendy, a top shelf paint will cover better and go on smoother than a cheapy.
My rule of thumb for paint is the same as when I buy wine: nothing under $5 or over $20.**

I’m a loyal user of Golden Acrylic Titanium White (in the tube, not the tub.) I buy it at Michael’s as I’m an instant gratification junkie and I’m too poor a planner to think about buying more until I squeezing the last ounce out with a pair of pliers.
I used two brushes for Casanova: a 10/0 spotter and a 1/4 angled shader. On larger models, I’ll use a third larger brush for horse with lots of white. The wine rule usually applies here too. I suggest you buy natural hair brushes, preferably made from the fur of something cute and possibly endangered.
I also keep a Dixie cup worth of water with my while I paint. I dump and refill the water when I switch between colors.
Mixing Your Paint
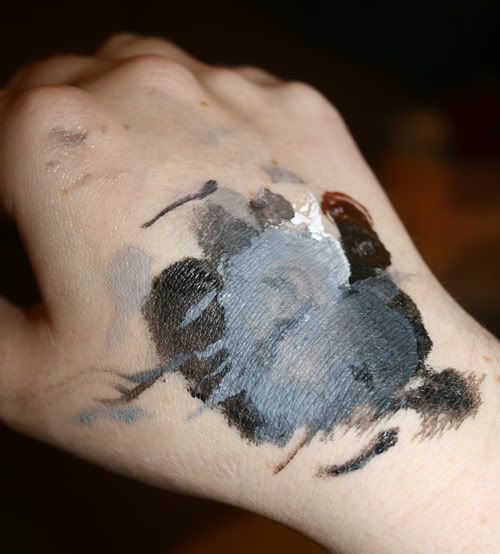
I’ve gotten a lot of flak for this over the years, but I mix my paint on the back of my hand. Use can use a palate, but I never seem to be able to find one when I need it. I usually know where the back of my hand is.
The other advantage of using my hand is it helps me feel how thick or thin my paint is. I add a dot of white paint on the back of my hand, direct from the tube. Next, I dip my brush into my water and mix the water into my paint. I repeat this a couple times until I get the paint to the consistency of milk. I start with a slightly thicker mix (cream) for the first few layers and gradually thin out to more of a skim milk. I want my thinnest layer to be my last layer.
When I run out of paint, I wash off my hand before I add another dob from the tube. Acrylic dries quickly and gets a little crumbly. I don’t want to get these crumbles on my horse, so I refresh my paint frequently.
Adding Your Pattern
My first step with Casanova is to block out the general pattern with my wedge brush. I use a slightly thicker mix here so the paint will stick to the basecoat. If my paint is too thin, the first coat or two I add to a horse will want to bubble on the surface, so thicker paint will keep it in place. At the same time, I paint these first few layers on with very little paint and brush over the paint a few times as it dry to avoid brush strokes.
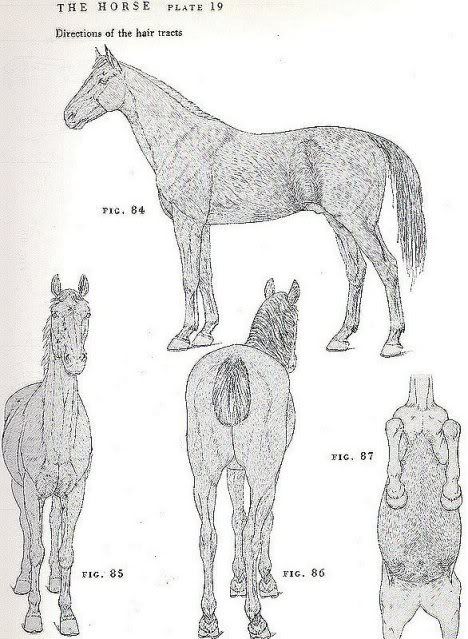
When I have the pattern fully blocked out, switch to my spotter brush. Using a thick mix (again, think cream) I detail the edge of the markings. I follow a hair chart to make sure paint the little hairs going in the right direction.
Click to embiggin
If I want a sharp edge on my pattern, I will go over these small stroke one of two more times. If I want to create a mapping effect, I’ll leave the edge alone after one layer.
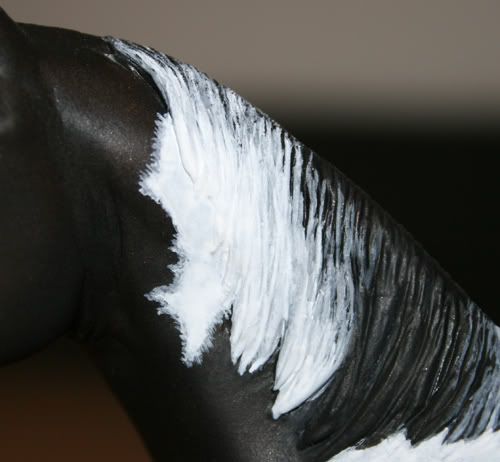
I finish filling in the rest of the white with progressively thinner mixes of paint. Towards the end, I’ll brush on very water layers with as much paint as I can. I have to set the model aside after applying these thick layers, but I think the effect is worth it. These layers fill in and smooth out the brushstrokes from the lower layers.
This step will take the longest among of time. I don’t expect to finish a pinto in a single evening and I plan on spending at least a week finishing this guy up. It’s time consuming, but I think the effect is worth.
It takes a lot of patience to finish this step and keep the white smooth. To be honest, this is why you don’t see a lot of models with super smooth white markings. For that matter, patience is not a virtue I have an abundance…so I cheat.
Cheating
I’d like to tell you there a magical secret technique that everyone can use for creating smooth white markings in less time. In reality, my cheating technique involves a $400 airbrush and a $300 air compressor. Unless you are serious about becoming an airbrush artist, I don’t recommend such a steep investment just for white markings.
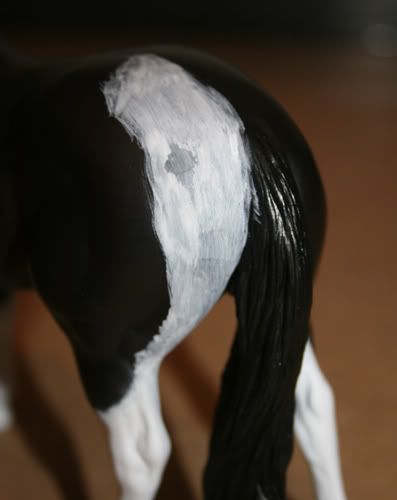
However, if you have an airbrush already or are keen to purchase one, this is my technique. I use an Iwata Micron, but this technique is still manageable with a variety of brushes. First, I wrap model in paper towels except for the marking I intend to paint. In this case, the butt:
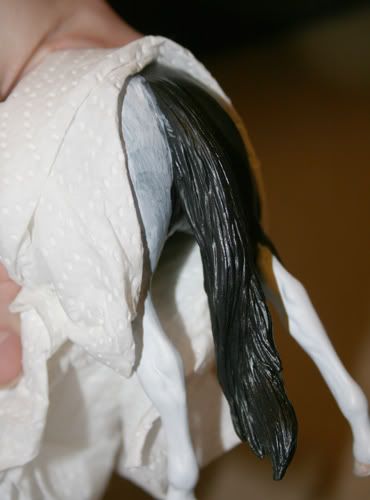
The tail will be white as well.
I overlap the edge of the pattern with the towels far enough that there is no chance of overspray on to the body. From there, I fill in the exposed area white paint, layer after layer.
*A lie.
**Another lie. I’ve paid more for wine than I care to admit.


3 comments:
Thank you! This is very helpful :)
''I’ve gotten a lot of flak for this over the years, but I mix my paint on the back of my hand. Use can use a palate, but I never seem to be able to find one when I need it. I usually know where the back of my hand is''
- I'm glad I'm not alone! XD I always end up 'cleaning' my brushes on my jeans though and I've ruined several otherwise good pairs by doing that!
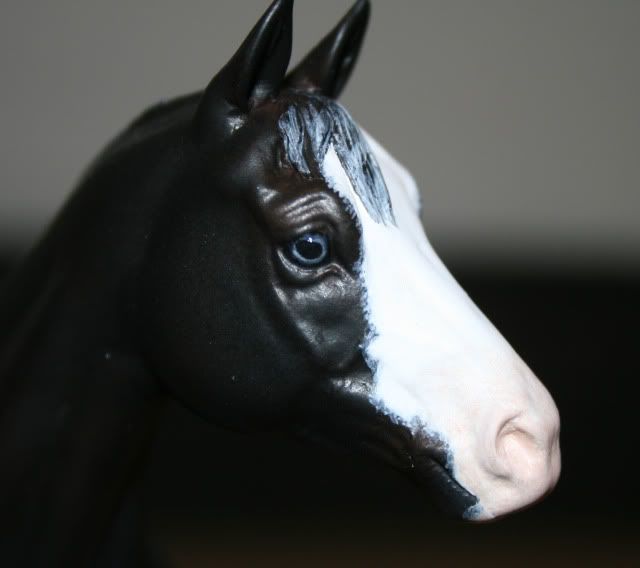
Any chance of an eye tutorial? I can't get enough of them!
I'll see what I can do. I'm not the best at eyes, but I have a consistent and efficient technique. I get by.
Post a Comment