For those of you who are familiar with my Showing 101 blog, you may remember that I have a tendency to get underestimate how much I have to say on a topic and end up breaking them down into something akin to a Dickens novel.
I think I promised this post would cover manes and tails. I've broken tails down into two parts, one for this week and one for next. Manes will be covered sooner rather than later.
________________________________
Required Reading“
Super Glue and Baking Soda: A Love Story”
“
Best Laid Plans”
“
Brands I Prefer: Everything Else”
“
Brands I Prefer: Clay”
“
Building a Frame & Armature”
Hair--hands down--is my favorite thing to sculpt. Most of model horse sculpting is very clinical. It’s about precision and recreation rather than expression. As an artist with a strong creative impulse, the technical bits can drag down my enthusiasm for work without some sort of release. Manes and tails are that release. They’re kinda a Zen thing for me.
A sculptor cannot exactly recreate (in clay) the mass of a swishing tail, flying foot feathers, or a windblown mane. And by and large, I don’t think hobbyists want 100% accuracy. If they did, everyone would be hairing their model horses.* The objective of mohair is to
recreate while sculpted hair is meant to
represent.
How an artist goes about representing hair is unique as a fingerprint. In this tutorial, I’m going to talk about my approach, but I would encourage you to explore different tools and tricks in the hunt for your own style. In my opinion, the more comfortable you are in your own style, the more naturally sculpting will come to you.
Ingredients12 inches of wire
1 model horse
1 bottle of super glue
2 tablespoons of baking soda
1 writing utensil
1 photo reference
1 sheet of tracing paper
Designing the TailThe easiest way to design a tail is to start with a photo of the real thing. I try to find a photo matching the position of the model I’m starting with. The closer the better--even two horses going the speed at the same gait will have a different shape to their tail at different phases of the gait.
Print out your photo. I try to print the photo as close to the actual size of my model as possible. Don’t worry about making it perfect, you just want it in generally the same size.
Next, bring out your tracing paper and tack it in place over your photo reference. Trace the outline of the tail, being as detailed as possible.
Fold your tracing paper. This time, trace your tracing and try to simplify the shape.
I try to vary the size of each clump of hair (or “spike.”) Little spikes, big spikes, short spikes, long spikes, wide spikes, thin spikes. Yadda, yadda, yadda. The goal here is to avoid looking too regular:
Looks a little like a squid.
When you are happy with your shape, feel free to move onto the next step. Don’t be afraid to sketch out more than one idea, reference multiple photos, and work out problems on paper. I could drawn ten of these before I'd be totally happy with the shape (I've done five already tonight. I'd keep going but I have to be up early tomorrow.) It’s much, much easier to make changes on paper than to go back and fix it after you’ve built the tail.
Removing the TailThere is more than one way to skin a cat. When you are removing the tail from a plastic horse, you have a wide variety of methods to choose from. If you have one that works for you, I won’t be heartbroken if you don’t use mine.
This is my preferred method:
If you have a models with a tail that hangs away from the body (such as Salinero, Roxy, the Half-Passing Warmblood, Flash, Cigar, etc.) you can just snap the thing off. Hold the body securing in one hand, grip the tail with the other and pull up. It’s a strangely satisfying sound. For extra enjoyment, try doing this at a model horse show. Your fellow collectors will collectively, instinctively wince when they hear the sound of snapping plastic. Seriously, this never gets old for me.
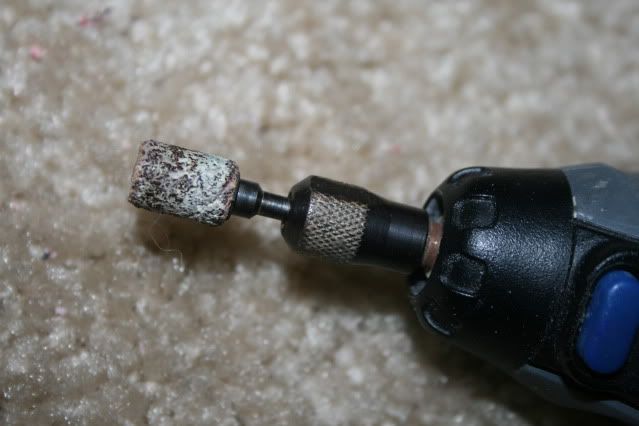
Snapping the tail will leave a small stub, which you can remove with a dremel.
Use the tools that look like teeny sanding belts.
If your model’s tail is attached to the body, you’ll need to take a different approach. You’ll need a cutting tool such as:
Bzzzzzzzzzzzzzzzz.
With my dremel, I cut around the edge of the existing tail. Start at the top and work your way down the sides.
Can’t reach under the tail? Don’t sweat it for now. Just cut what you can reach without nicking the butt.
Same as we did with detached tails, now snap off the tail by pushing against the bottom end of the tail.
If it doesn’t want to move with a reasonable amount of pressure (
please don’t hurt yourselves,) it’s time to dive into some different tools. Honestly, I’ll just grab whatever I have on hand and try to be patient while I whittle away the tail.
Meh, worth a shot.
Your tail should be off by now. If not, return to the previous paragraph.
It will look messy at this point. Go back to your grinding tool.
Clean up the excess plastic and try to reclaim as much of the butt as you can. Now you should have a clean--but gaping--hole.
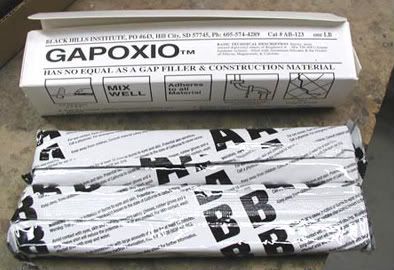
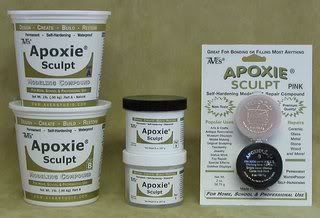
If possible, I’ll stick a little piece of masking tape in the hole and cover it in baking soda/super glue. If I know my new tail will cover the hole, I won’t worry about getting his rear end as presentable as possible. However, if I know this area won’t be covered, it’s time to bring out the Apoxie and start patching.
I’ll give y’all the week to finish up repairing your model’s back end and let the clay dry. Your homework is to add a small (1/8 inch) hole, once you’re happy with your resculpted horse’s behind. I use a drill bit that fits in my dremel:
To be continued…
*It’s worth noting that at one point in time, everyone
did hair their models. My second custom was haired. It was also awful and the last I tried my hand at mohair.
This tutorial is from one of the best in the business, Carol Williams. It’s a great read and almost enough to encourage me to give it a second chance. Almost.







 Posts
Posts


